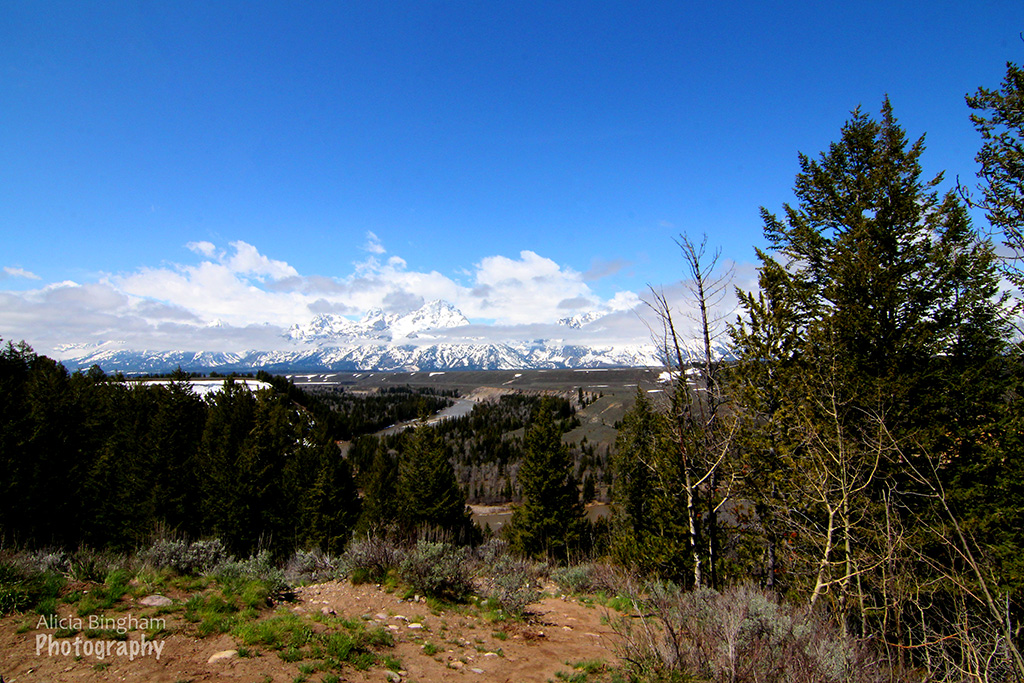
Grand Teton National Park has amazing drives and views of the mountains. I love nature, and learning how to capture it was wonderful. I love taking pictures of people in front of scenery, such as family and friends; but sometimes it’s nice to have a beautiful image of the earth just to hang on your wall, especially during the gloomy winter days. The skies were mostly gray, but the clouds parted later on, giving me a wonderful blue sky to work with.
I had to adjust my f-stop a lot in order to change my aperture for the various shots I wanted. I got some close-up shots, (see my post titled Grand Tetons Fine Art: Macro Photography), which made me need to change my f-stop. See the captions for exact specs of each photo.
I did minor editing with the levels on all of these images, and some I needed to boost the saturation a little bit as well. Here are the images of mountains that I caught on camera. Let me know what you think.

AliciaBingham-GrandTetons-OxbowBend1; Grand Teton National Park-Jackson, WY; 5/17/14; 11:02am; f20; 1/200; ISO 100
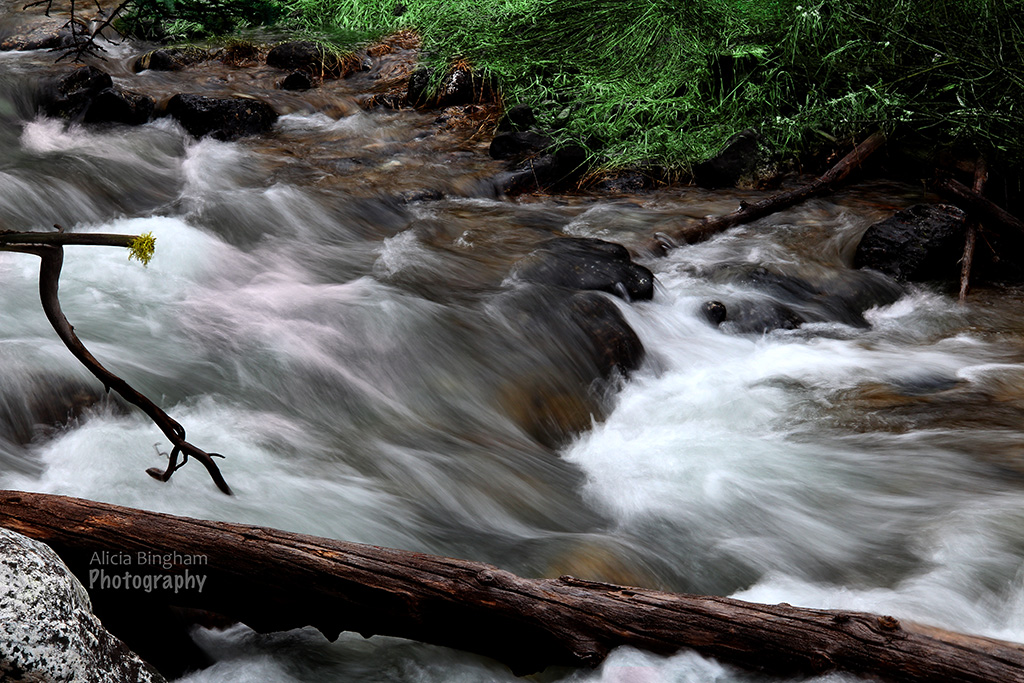
AliciaBingham-GrandTetons-Nature-Stream-Slowshutter; Grand Teton National Park-Jackson, WY; 5/17/14; 7:24am; f20; 1/5; ISO 100

AliciaBingham-GrandTetons-OxbowBend5; Grand Teton National Park-Jackson, WY; 5/17/14; 11:06am; f22; 1/200; ISO 200

AliciaBingham-GrandTetons-MooseWilsonRoad-LakeReflection2; Grand Teton National Park-Jackson, WY; 5/17/14; 6:35am; f11; 1/200; ISO 1600
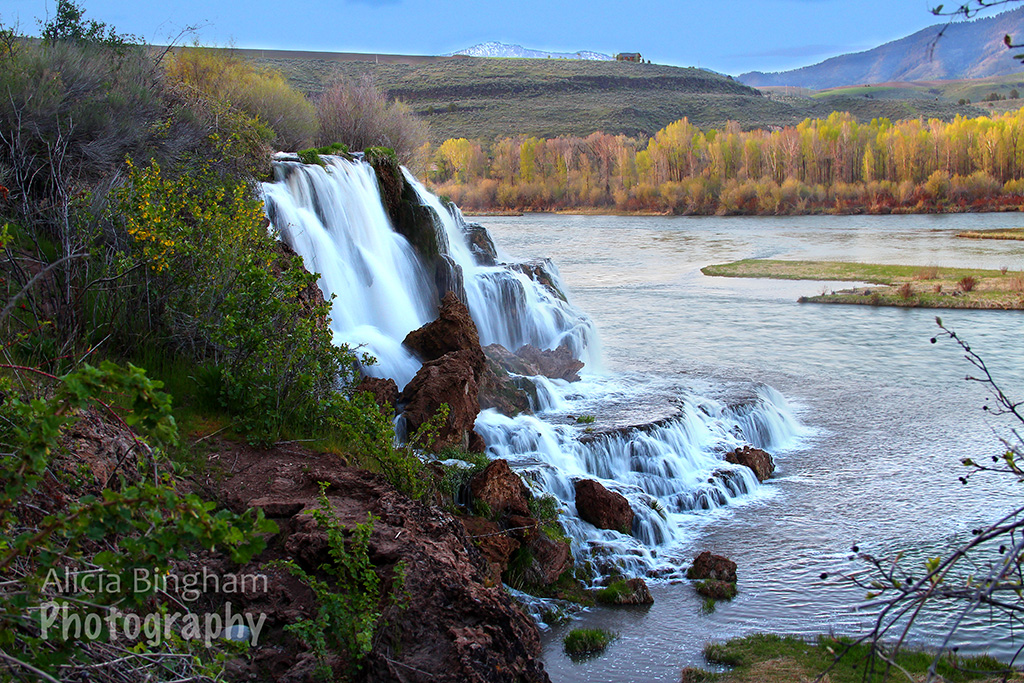
AliciaBingham-GrandTetons-FallCreekFalls5; Palisades-Bonneville County, ID; 5/17/14; 7:30pm; f11; 1/6; ISO 100

AliciaBingham-GrandTetons-JennyLakeLoop; Grand Teton National Park-Jackson, WY; 5/17/14; 1:12pm; f22; 1/200; ISO 400

AliciaBingham-GrandTetons-OxbowBend5; Grand Teton National Park-Jackson, WY; 5/17/14; 12:16pm; f22; 1/200; ISO 200

AliciaBingham-GrandTetons-FallCreekFalls1; Palisades-Bonneville County, ID; 5/17/14; 7:25pm; f8; 1/250; ISO 800
AliciaBingham-GrandTetons-OxbowBend-WideAngleLens1; Grand Teton National Park-Jackson, WY; 5/17/14; 11:15am; f22; 1/200; ISO 800